Start with the requirement you actually have
A file-size limit and an image-size limit are different. A form can reject a 90 KB image because it is too wide, or reject a correctly sized image because it is 101 KB. Write down the maximum file size, allowed formats, and required dimensions before changing the original.
In OmniKit, the target is a maximum size to aim for, not a guarantee. The compressor first changes JPG or WebP quality. If that cannot meet the target, it can reduce pixel dimensions. PNG uses lossless encoding in this workflow, so a target does not make every PNG smaller.
A real run you can repeat
On 5 September 2026, we used the image compressor’s built-in Try Sample action with JPG output, a 100 KB target, and no maximum dimensions. The browser displayed the following result:
| Setting or result | Observed value |
|---|---|
| Source dimensions | 2400 × 1600 pixels |
| Original size | 171 KB, as displayed by the tool |
| Target / format | 100 KB / JPG |
| Output | 99.7 KB at 2400 × 1600 pixels |
| Reported saving | 42% |
This was a sample run in a macOS in-app browser. Sizes above are rounded display values; they are not byte-exact benchmark measurements. The generated sample uses installed fonts and the browser’s encoder, so another browser can produce a different source and result.
- Open the compressor, clear any earlier files, then choose Try Sample.
- Select JPG, set the target to 100 KB, and clear both maximum-dimension fields.
- Compress once. Compare the original and result at normal viewing size and inspect small text.
- Record both the output size and dimensions. Download only if the result meets the destination’s requirements.
Practice with two different kinds of input
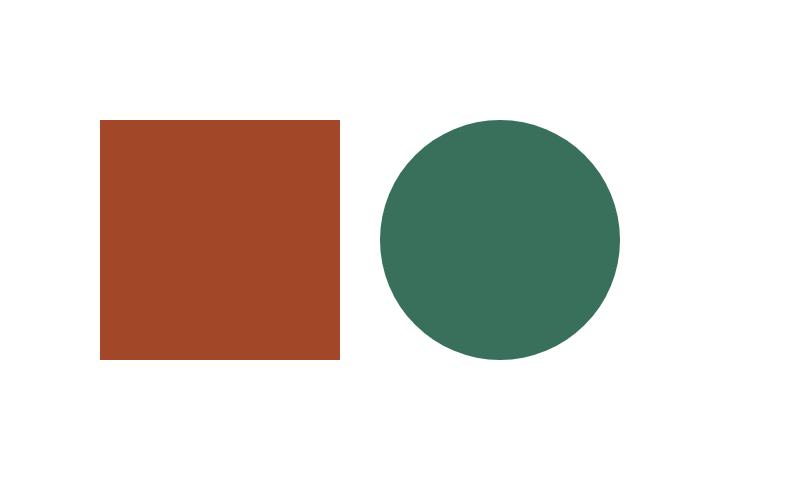
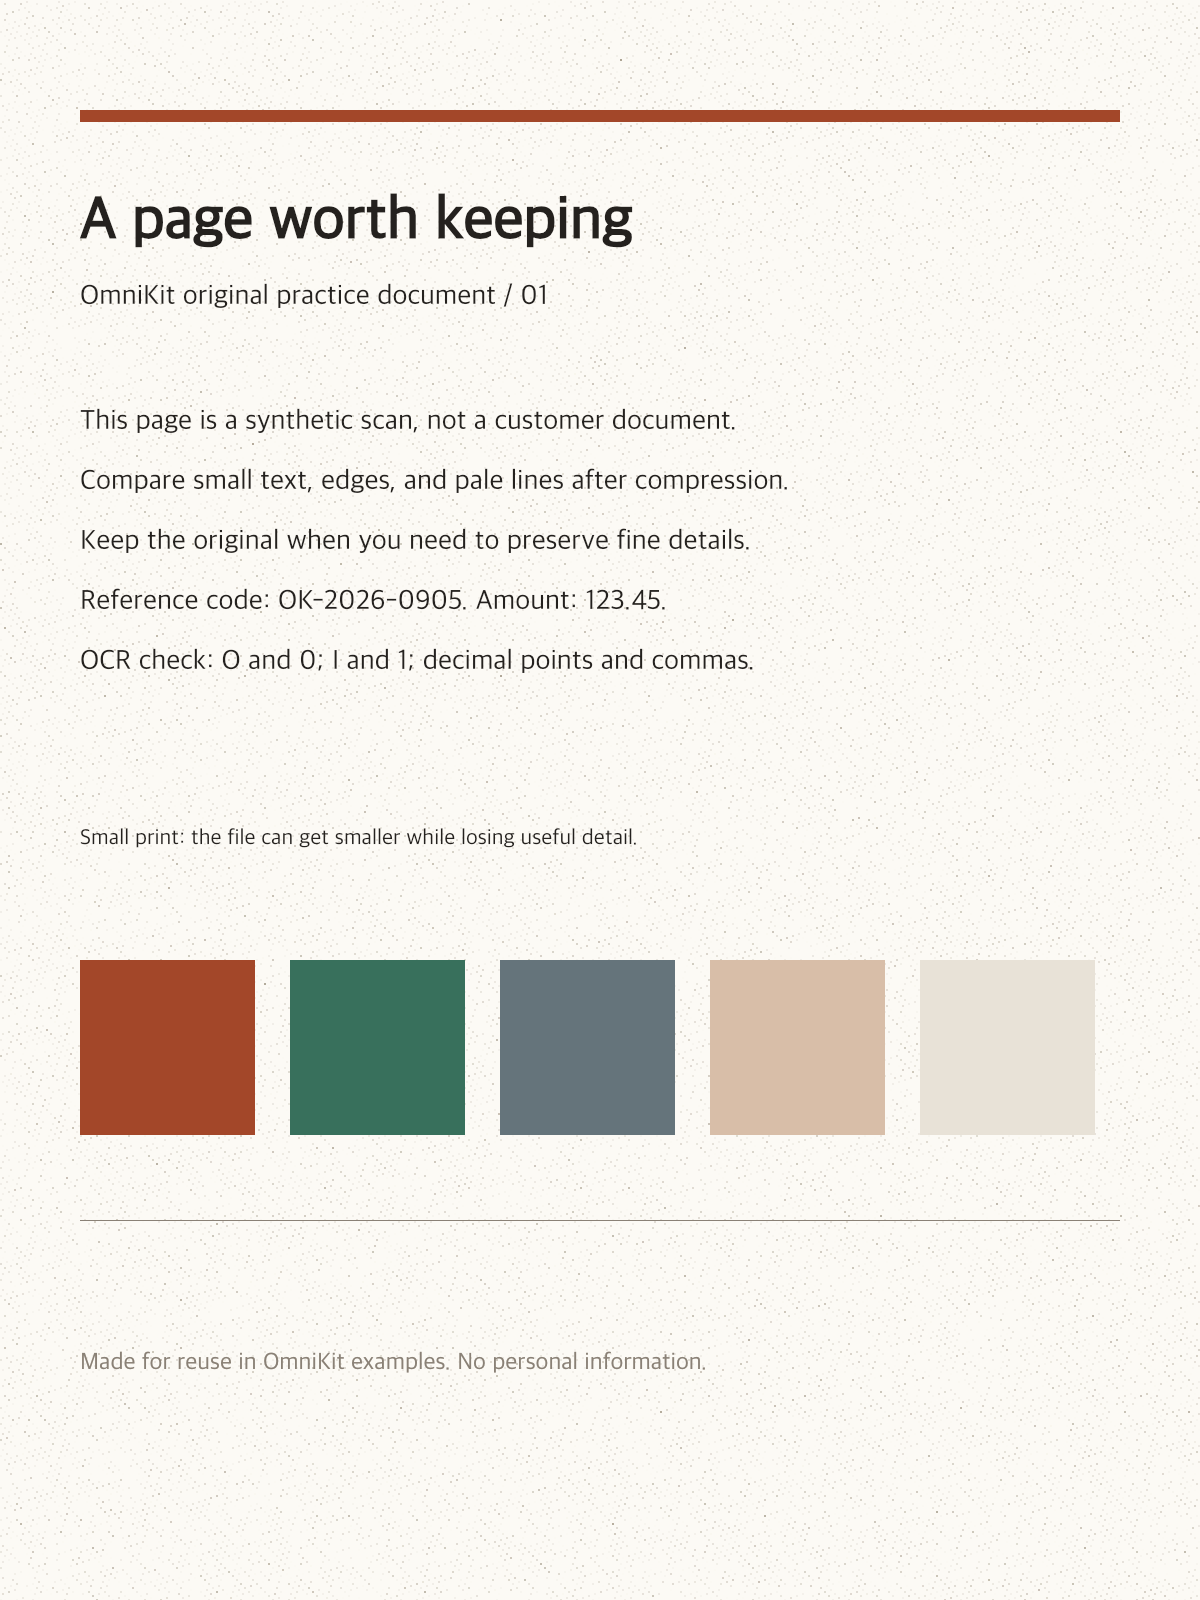
These original practice files contain no customer information. The page image has small text, subtle texture, and flat color patches. The transparent image has two shapes and an empty background. They are separate practice inputs, not the source of the measured run above.
| Input | First attempt | What to inspect |
|---|---|---|
| Text or screenshot | PNG, or a conservative WebP export | Small letters, thin lines, and colored edges at 100% size |
| Transparent artwork | PNG or WebP | Transparent areas against both dark and light backgrounds |
| Photo without transparency | JPG or WebP, then set the size target | Fine texture, gradients, and the final pixel dimensions |
Know when to keep the original
If a transparent image is exported to JPG, it needs a solid background because JPG cannot retain transparency. If a fine-text image becomes hard to read, choose a larger target or use PNG. If the new file is not smaller, keep the original rather than replacing it just because the tool finished.
For a strict upload limit, leave a little headroom and inspect the actual downloaded file. Sites can label decimal kilobytes and binary kibibytes differently. Always keep the untouched source for future exports.
Browser export background: MDN’s canvas export documentation explains format and quality support.